As you could read in our last two blogposts, we are currently experimenting with LoRaWAN, specifically with The Things Network.
The LoRaWAN infrastructure is not built and provided by a single company, but can be set up by anybody without the need for any licenses. While there are a few companies that started building classical pay-per-message LoRaWAN networks (in Switzerland it’s mostly Swisscom and Loriot), there is also a company/project following a different approach: The network provided by The Things Network is entirely built and maintained by volunteers. Anyone can join it with a gateway and use it for free, no strings attached (as long as the fair use rules are followed). The backend is fully open source. While the backend architecture was initially centralized in the Netherlands, it is currently in the process of being decentralized.
At Coredump, we also wanted to become a part of the community and provide coverage for Rapperswil-Jona with a gateway. We internally crowdfunded the hardware needed to build a DIY multi-channel gateway, consisting of an IMST iC880A-SPI LoRaWAN concentrator board and a Raspberry Pi 3. Total cost including enclosure and PoE kit was around 450 CHF. This (pretty long) blogpost tells the story of how we got there.
First Prototype
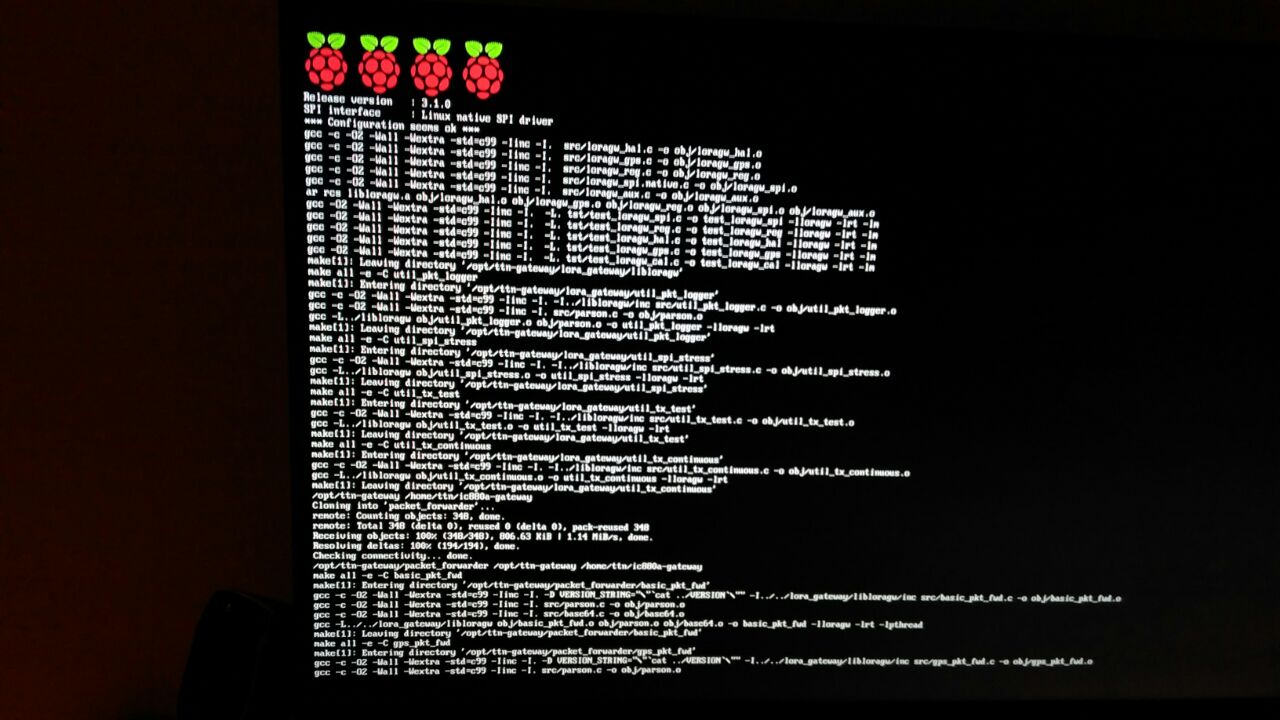
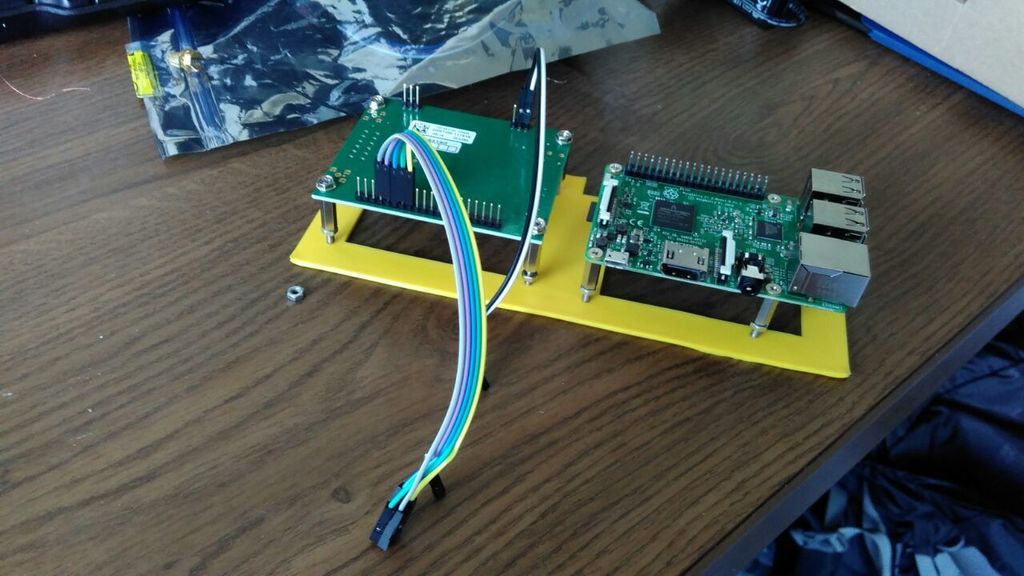
The first prototype was put together quickly in a late-night session in August last year using the great guide by TTN-ZH.
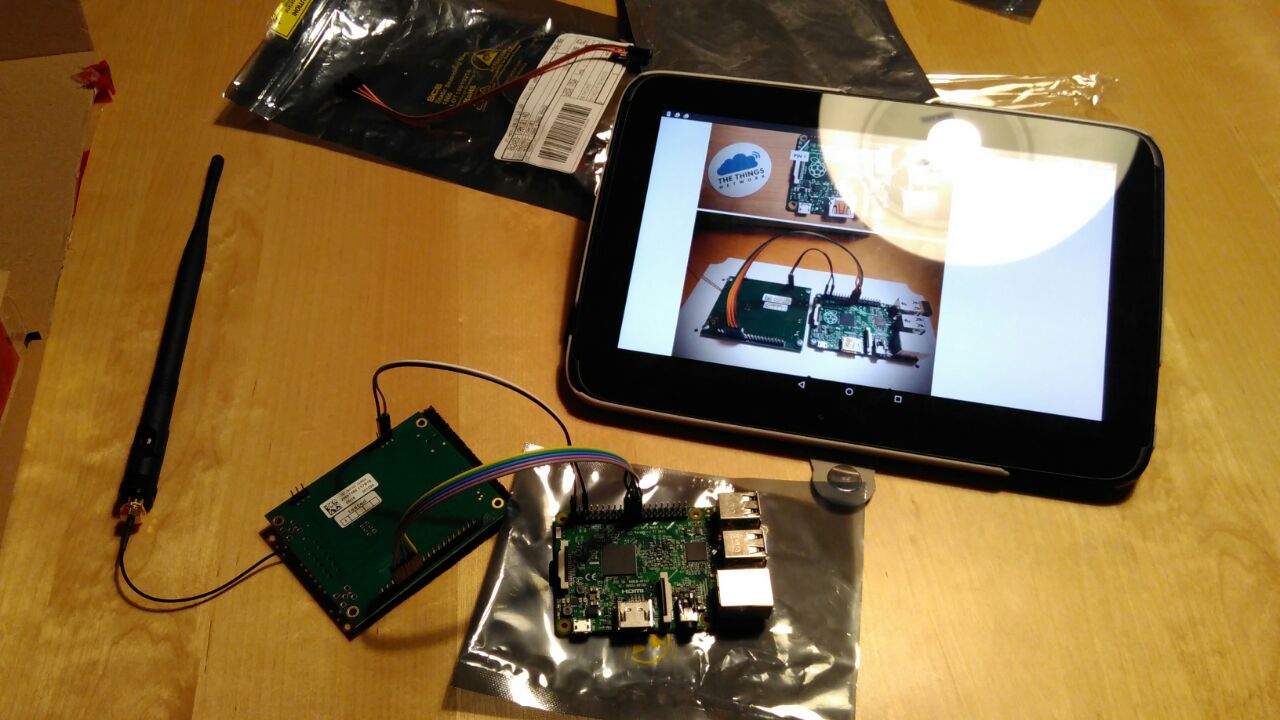
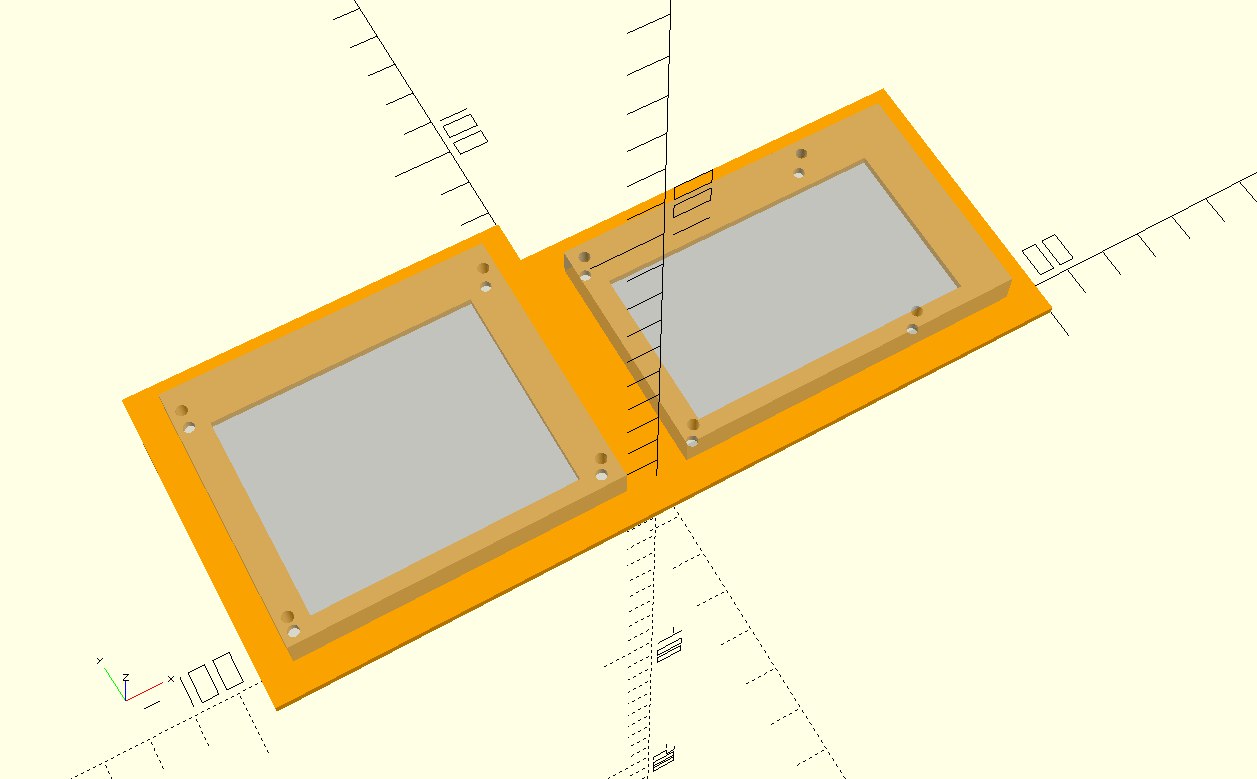
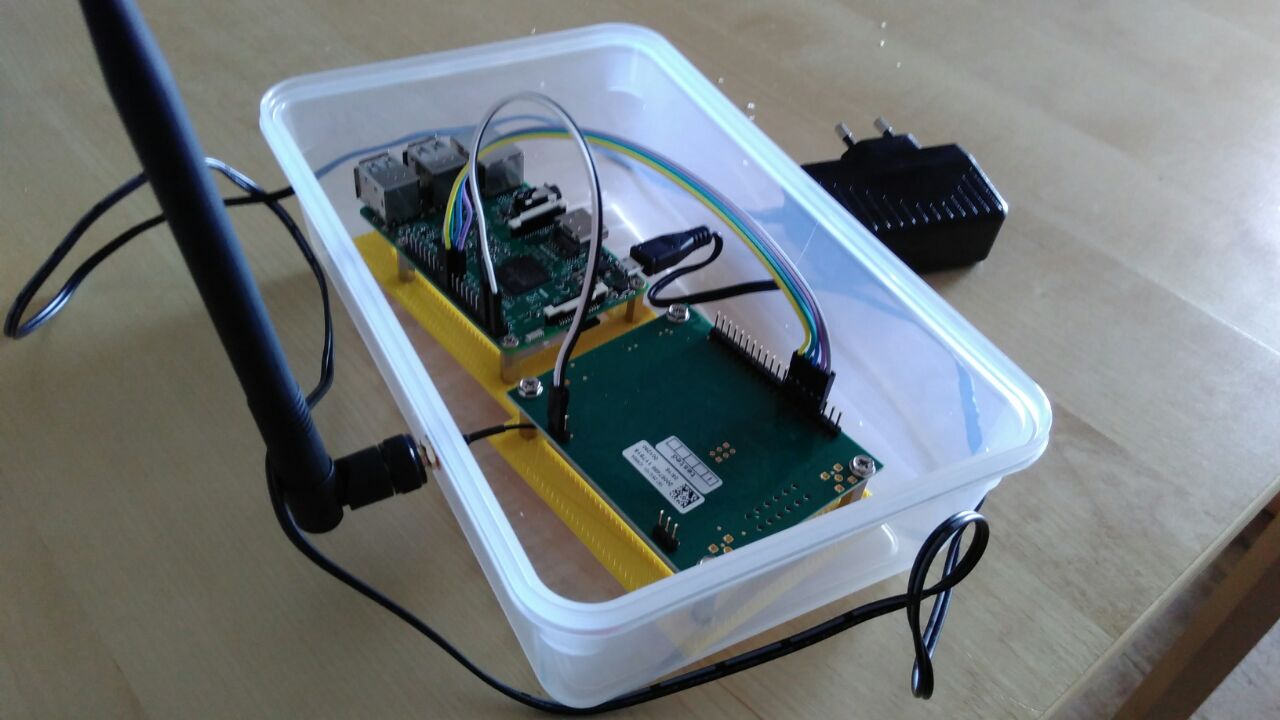
Back then I lived in an appartment on the second floor, so I put the gateway on my balcony, connected to the internet via WiFi. I bought a cheap tupperware at Migros and designed a 3D printable mounting plate for the Raspi and the PCB.
While this setup worked, the position on a sheltered balcony in a well-insulated Minergie building was not optimal. I went “LorWalking” (the walking-LoRa version of wardriving) to map the coverage and could reach the Kinderzoo area, but the northern part of Rapperswil did not really have coverage.
So we knew that we needed a better location. Also, I knew that I wanted a better way to monitor our gateway.
The iC880A Sensor Backplane
The setup with the printed frame and the loose cables was not really optimal. A a better solution is a mounting backplane. There’s a simple backplane PCB available from Gonzalo, but I also wanted a way to monitor the temperature/humidity of the gateway inside the enclosure. And so, the idea of a simple backplane with an on-board temperature/humidity sensor was born. I originally estimated around 2-3 hours of work, but then one idea on how to improve the board followed another one, leading to dozens of hours of development work 🙂 The end result was this nice PCB, soldered in our reflow oven:
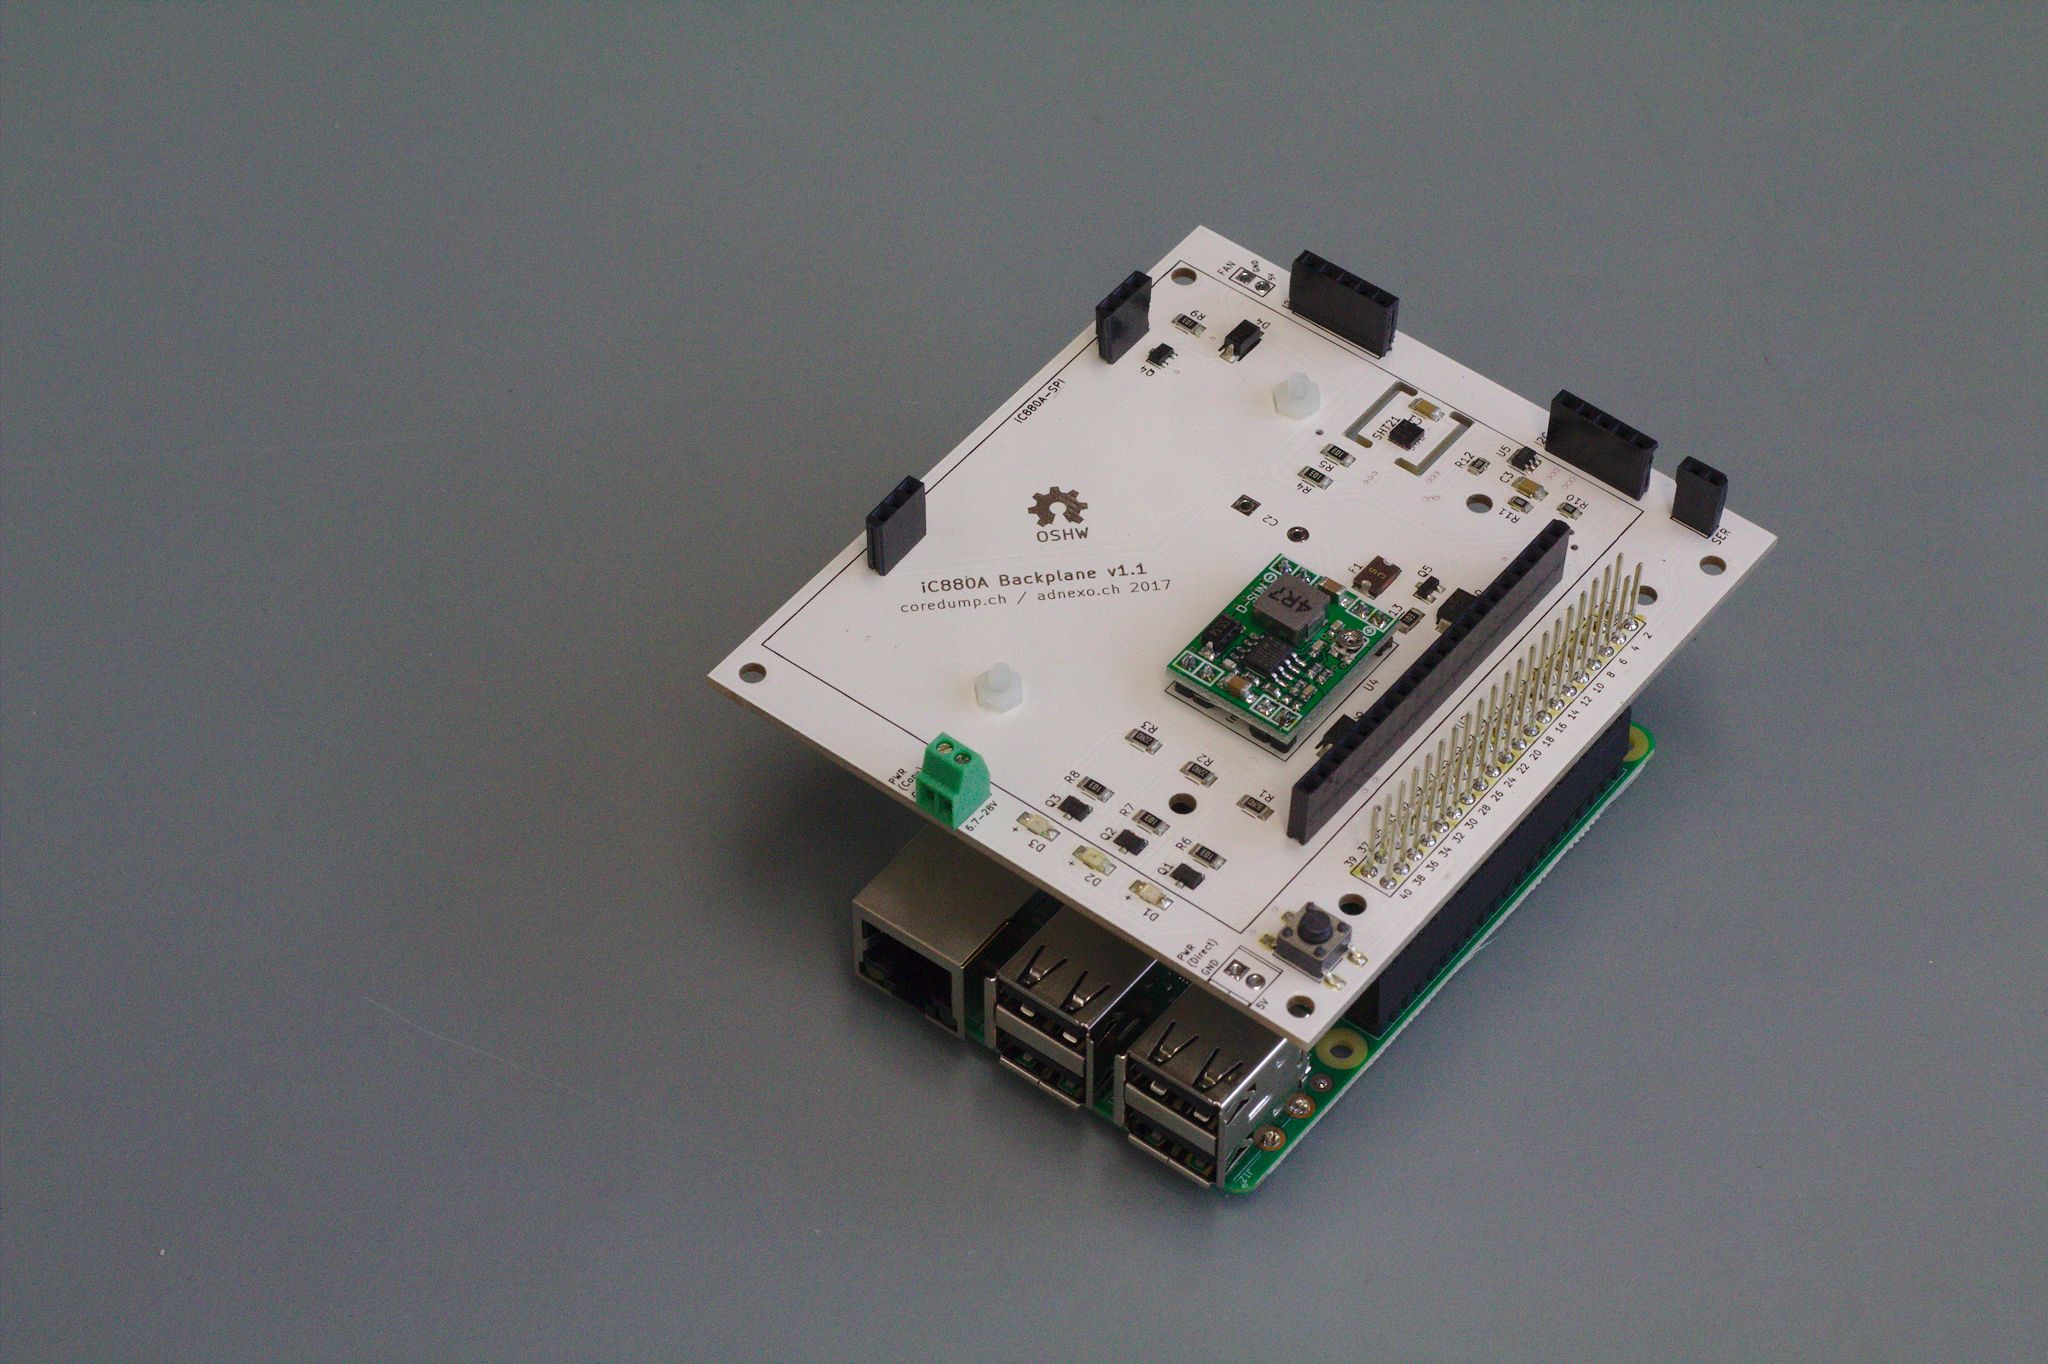
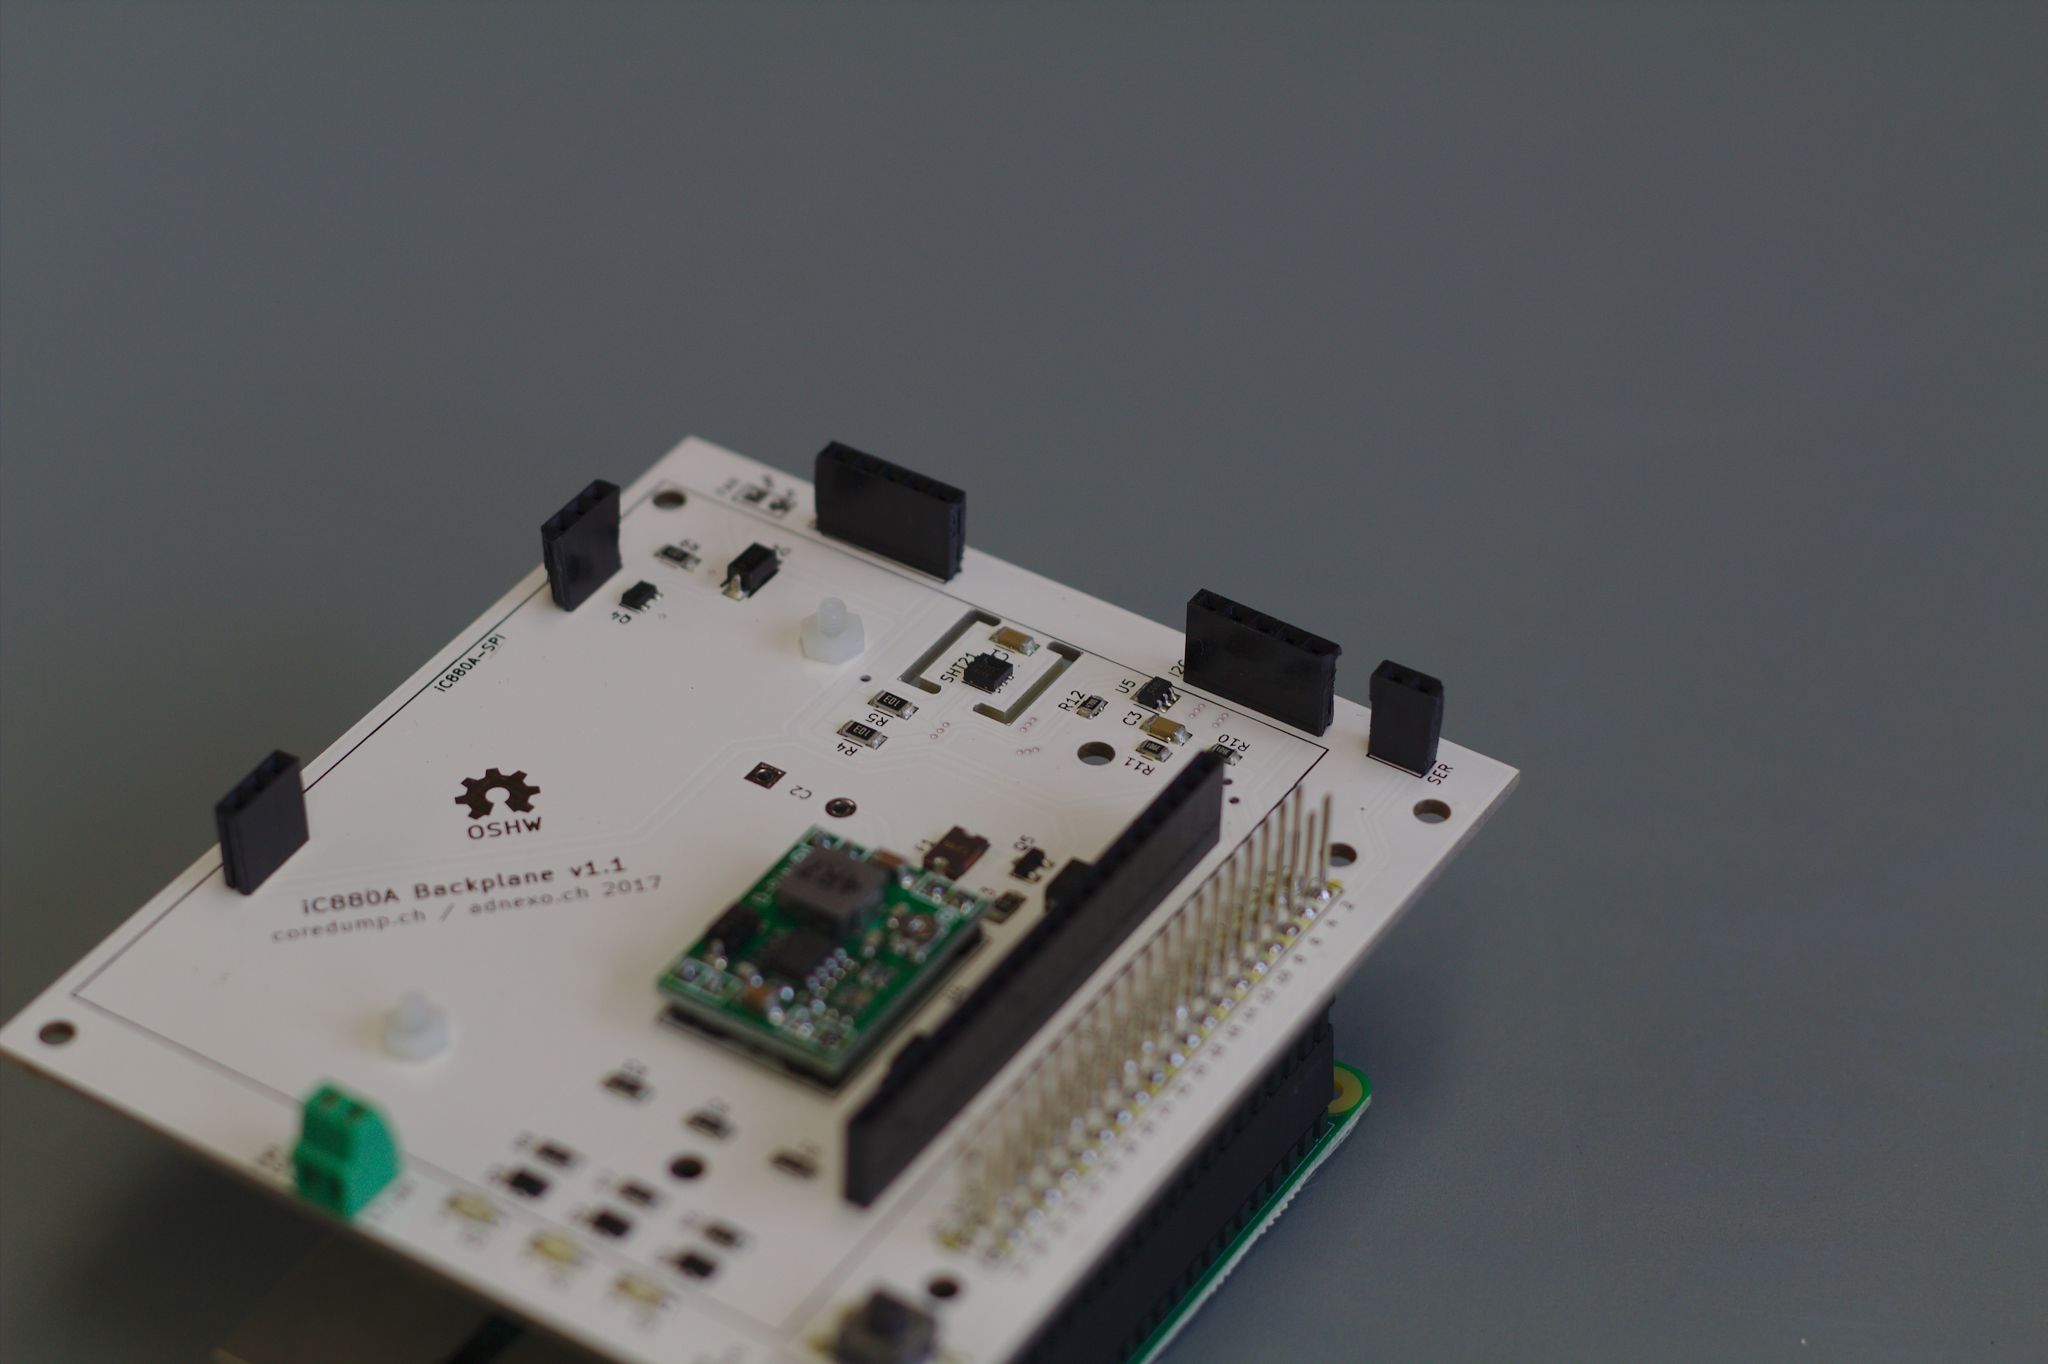
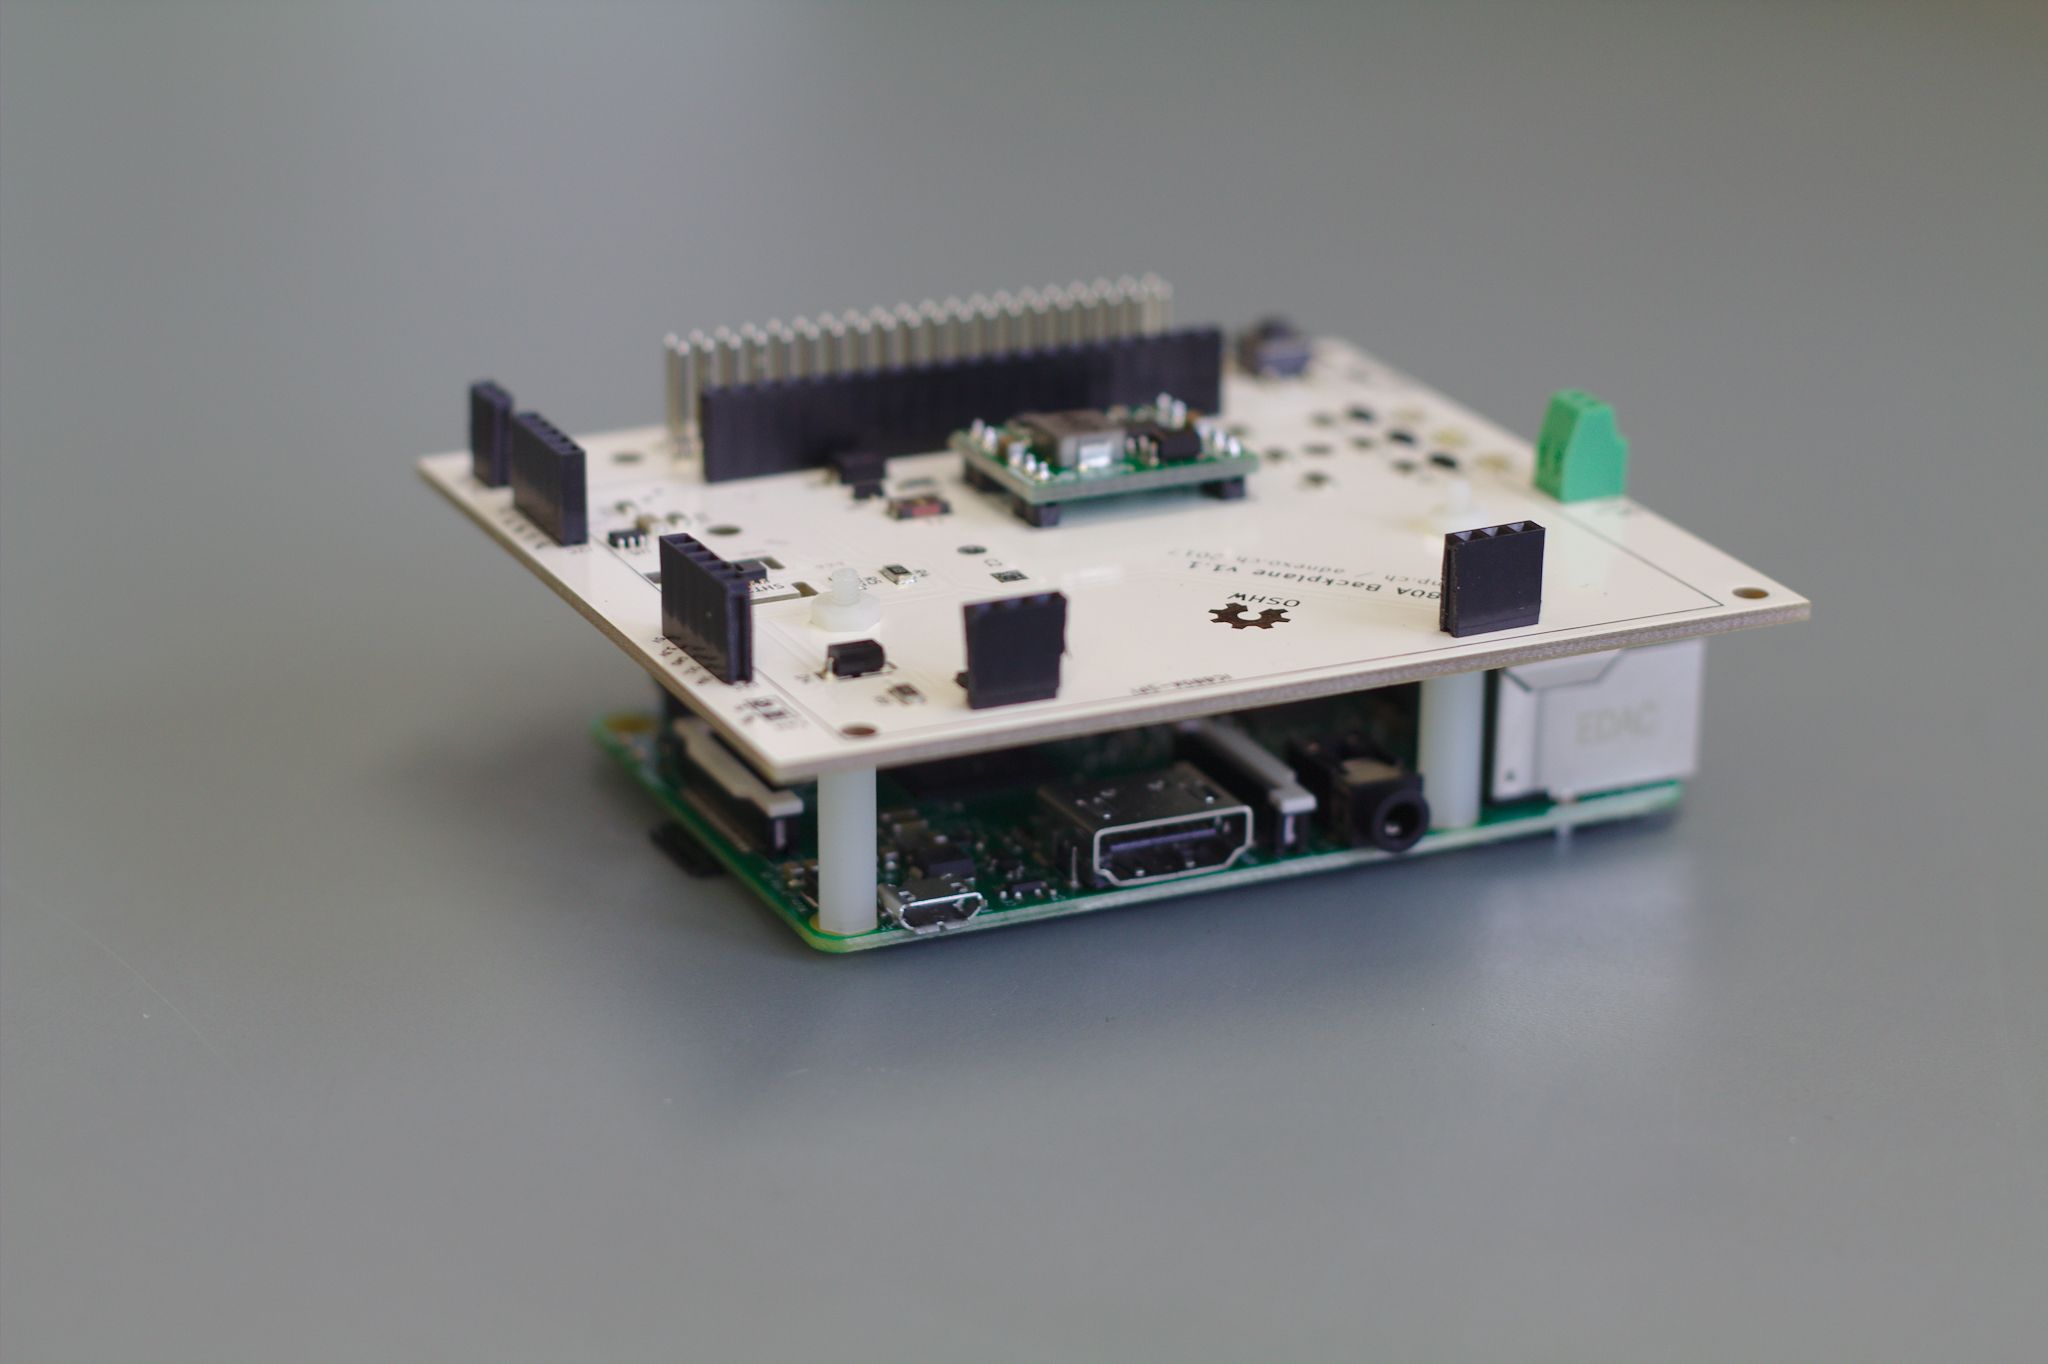
It features a step-down voltage regulator (input range 7-28V), a SHT21 temperature/humidity sensor, a 16-bit ADC to monitor input voltage, a connector for a 5V DC fan, protection circuit against voltage spikes and reverse polarity, and more. It is open source hardware and you can order it from our shop. If you have an idea on how to improve it, please send an e-mail or open an issue!
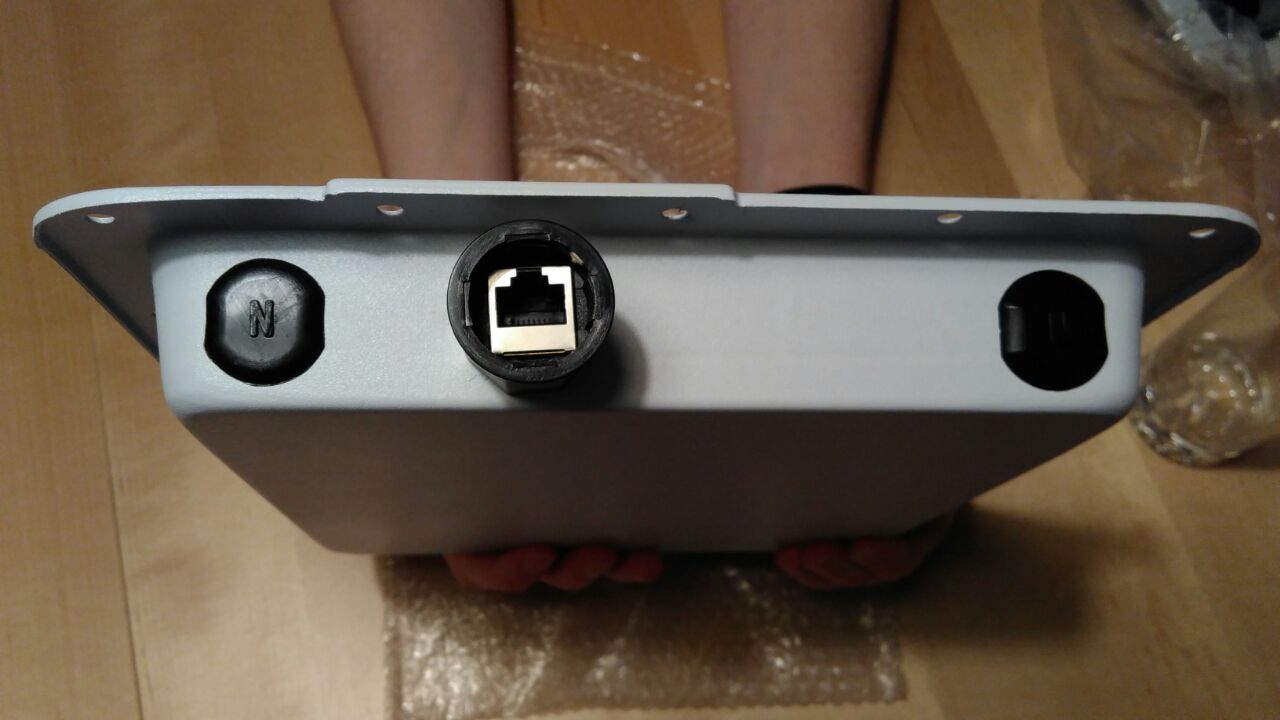
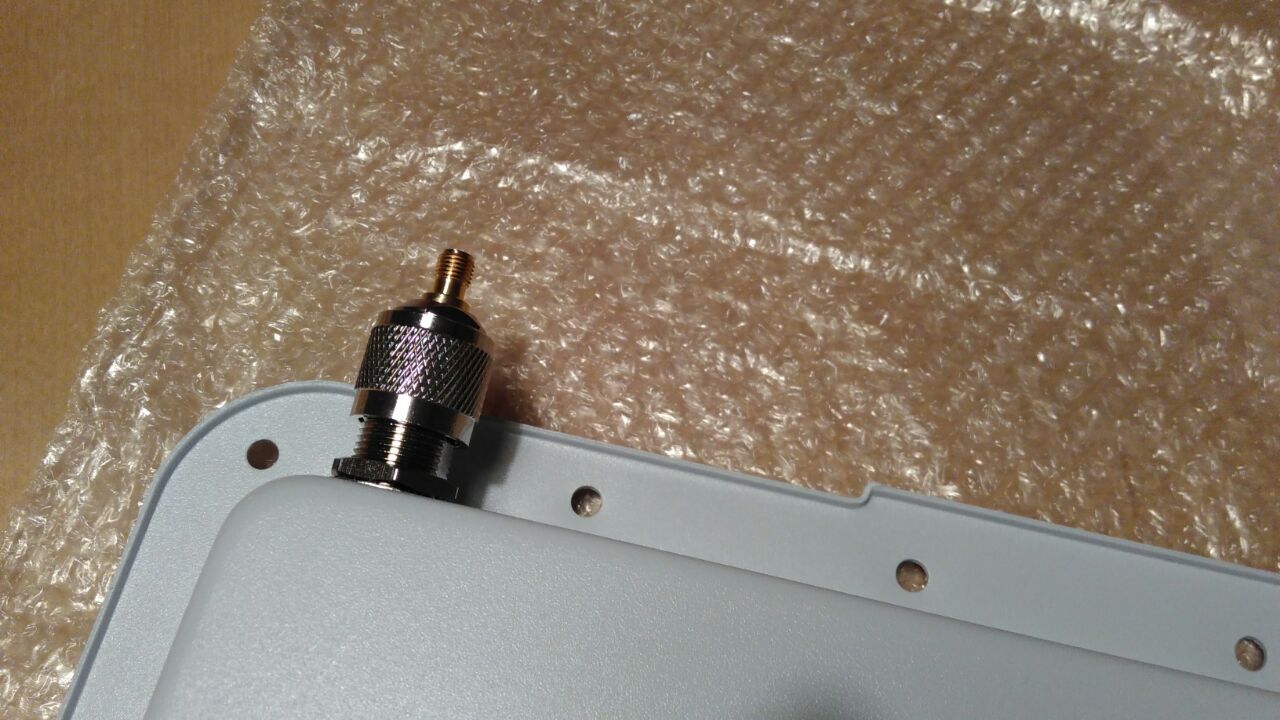
The enclosure / PoE
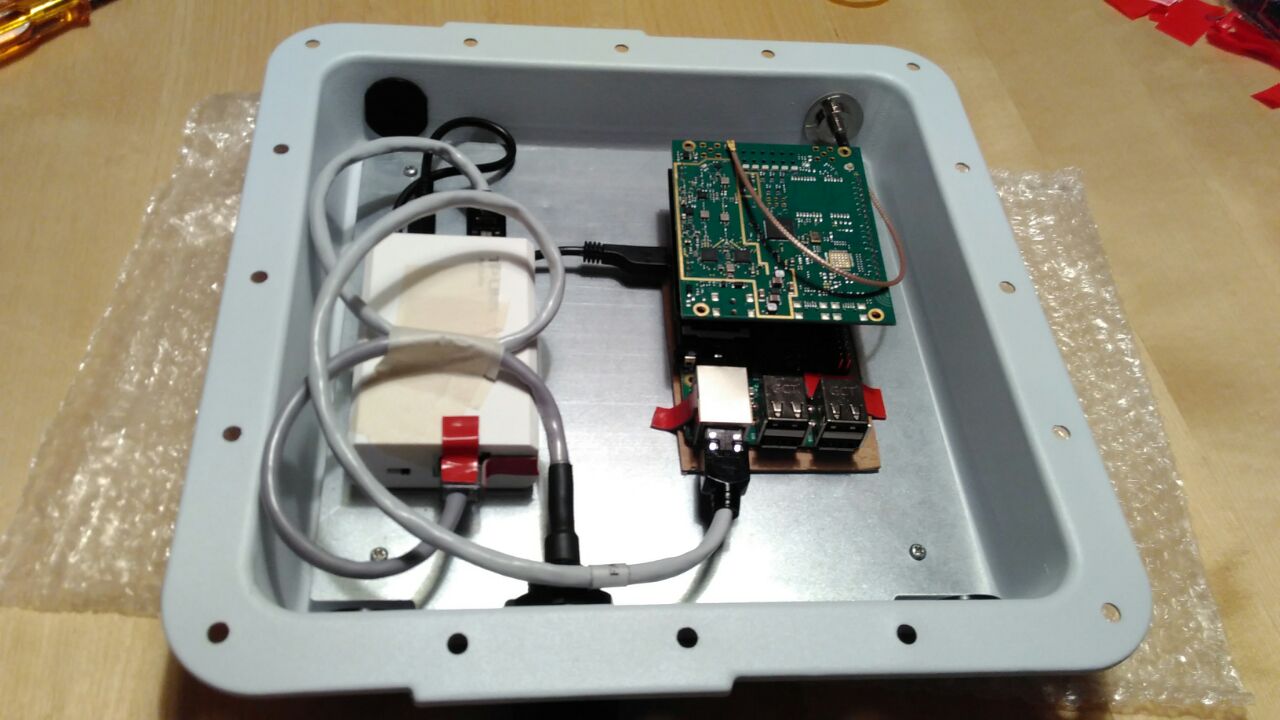
Next, we needed a good permanent enclosure. I found a really nice one on aerial.net and managed to convince a friend at adnexo GmbH to import a few of them into Switzerland 🙂 (If you also want one, drop them an e-mail.)
To get both internet and power into the enclosure, I bought the TP-LinkTL-POE200 PoE-Kit. It can be configured to output either 5V, 9V or 12V. When doing some measurements it turned out that the 5V setting was unusable (when attaching the idle Raspberry Pi the voltage dropped down to 4.6V), but in combination with our backplane board and the 12V setting it works great.


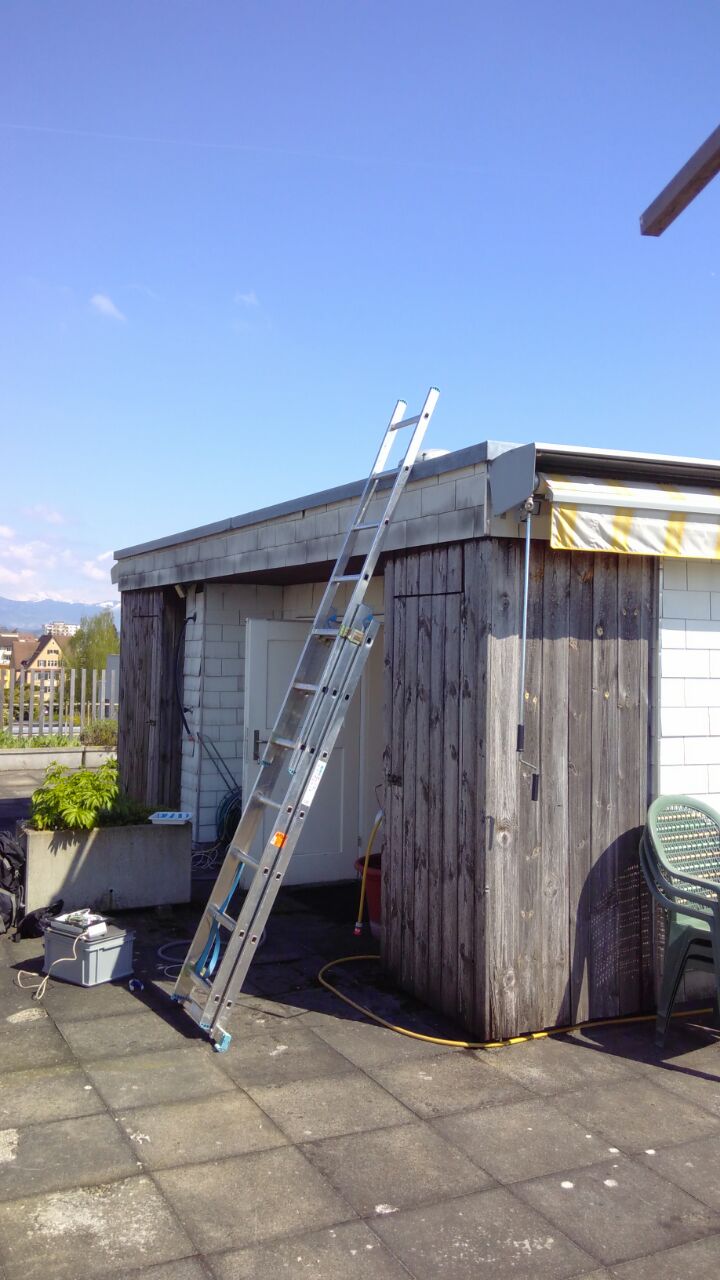
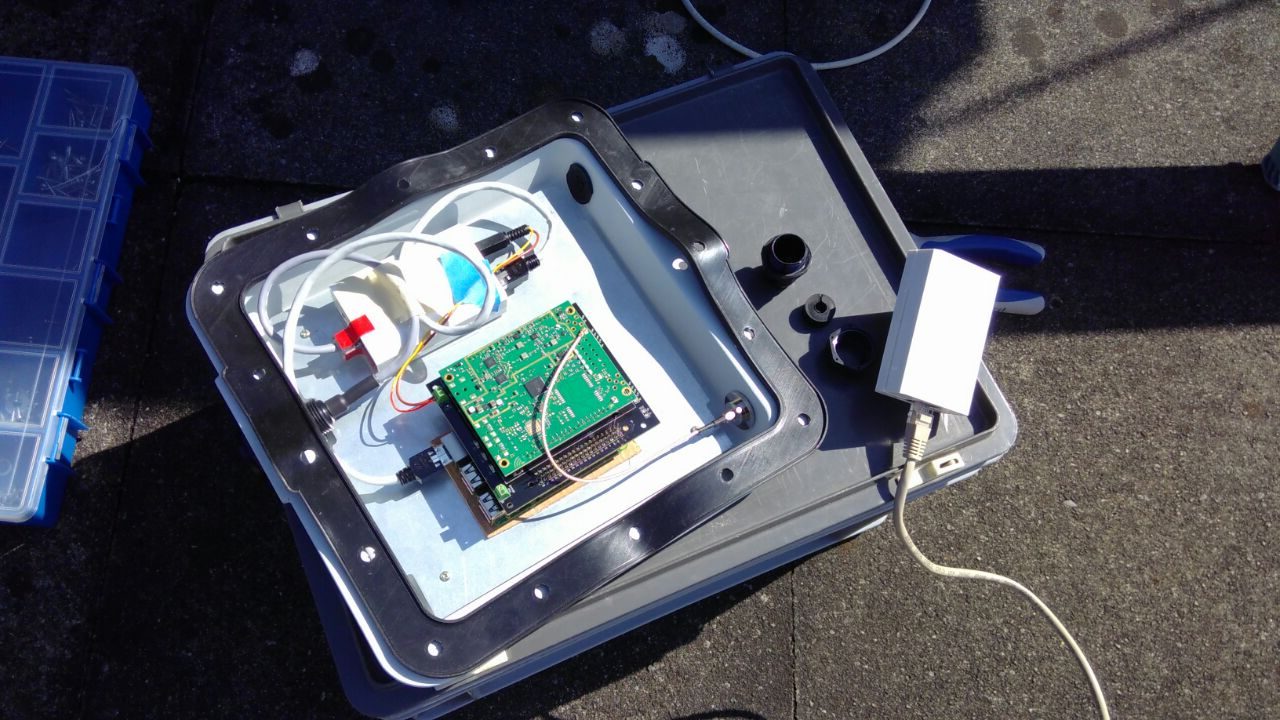
The Location
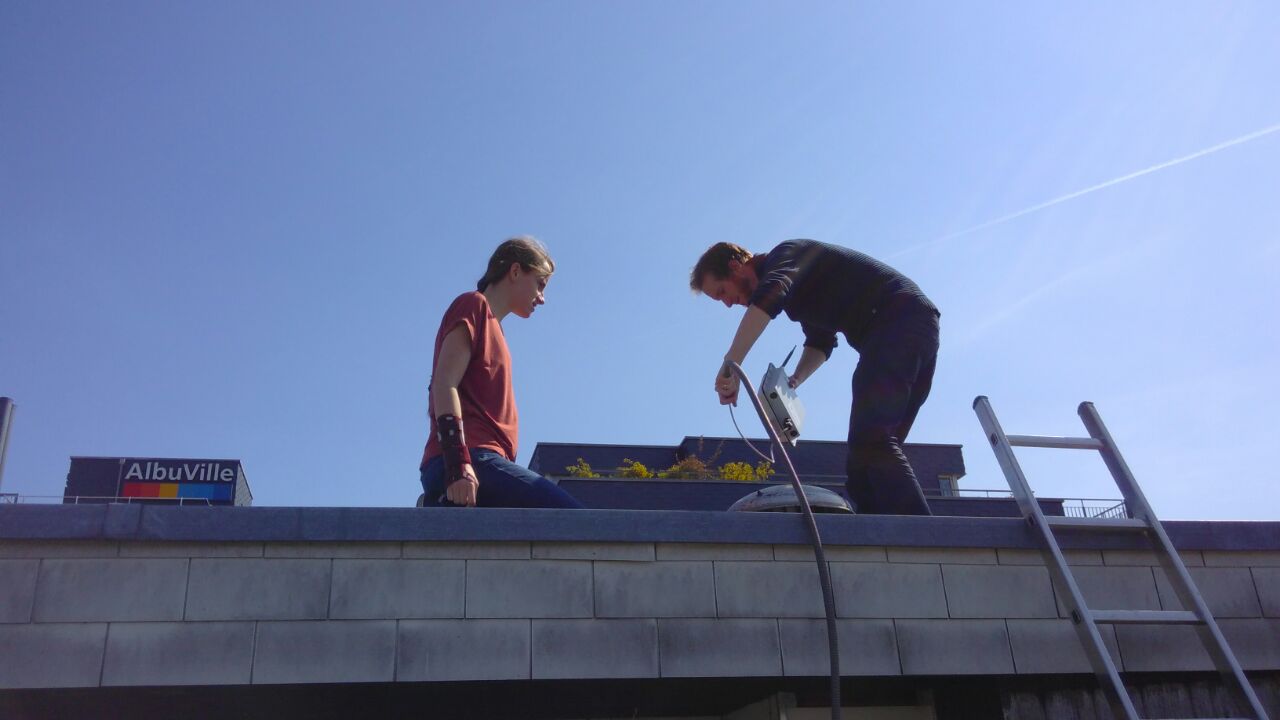
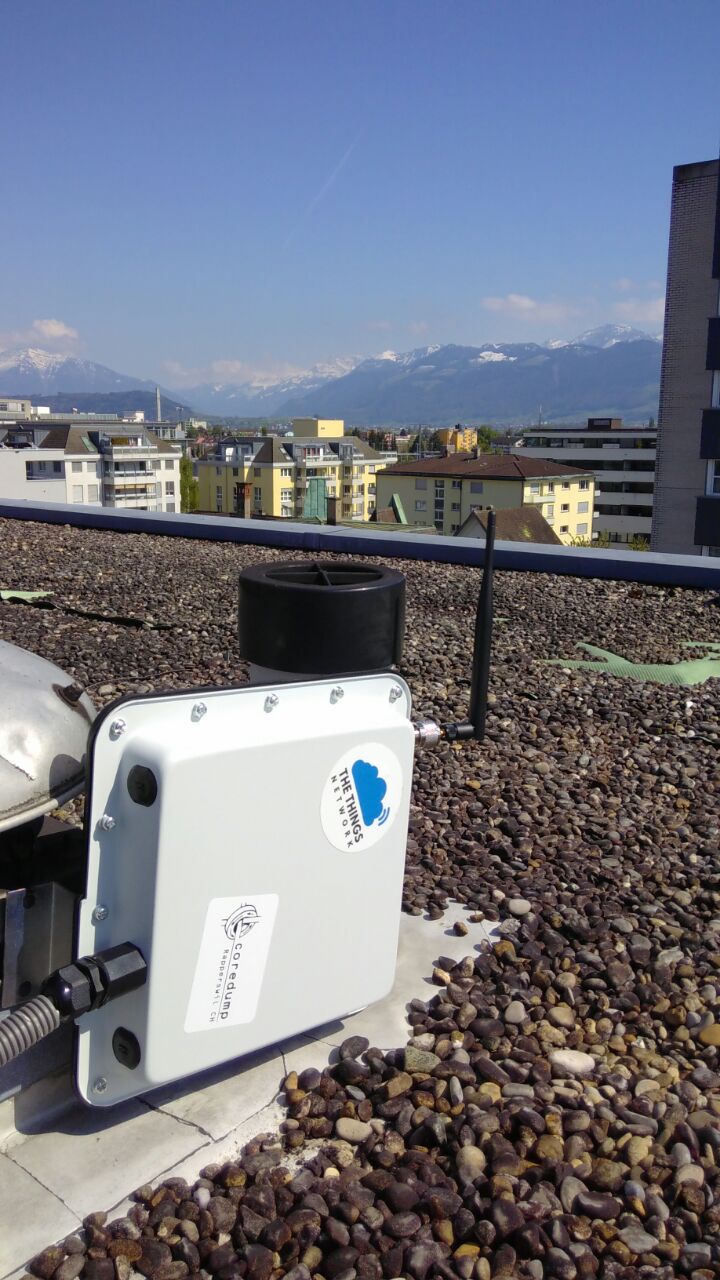
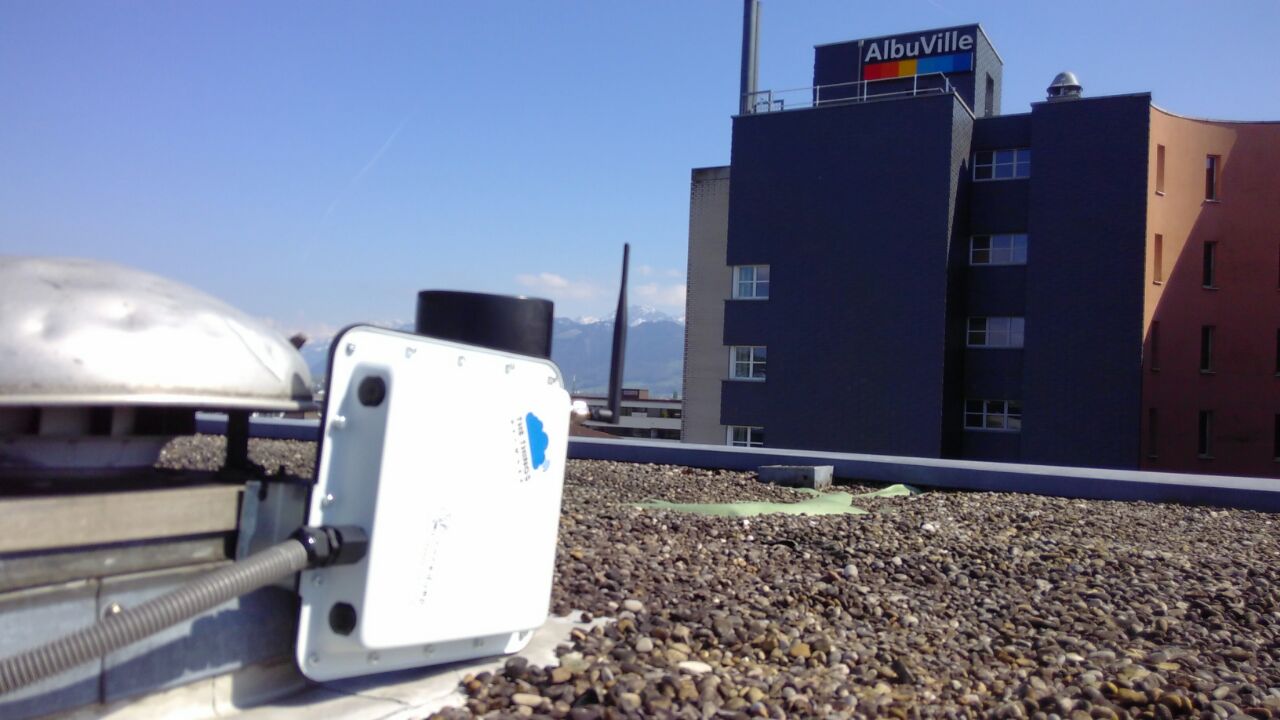
Since we wanted to cover Rapperswil-Jona with LoRaWAN, we were looking for a good place to mount the gateway, with both power and internet connection. Unfortunately we are not allowed to mount it on the roof of our hackerspace, but found a possibility to place it on top of the roof of the Kirche im Prisma.
Thanks to a reverse SSH tunnel, we always have the possibility to connect to the gateway via SSH for maintenance.
Coverage Mapping
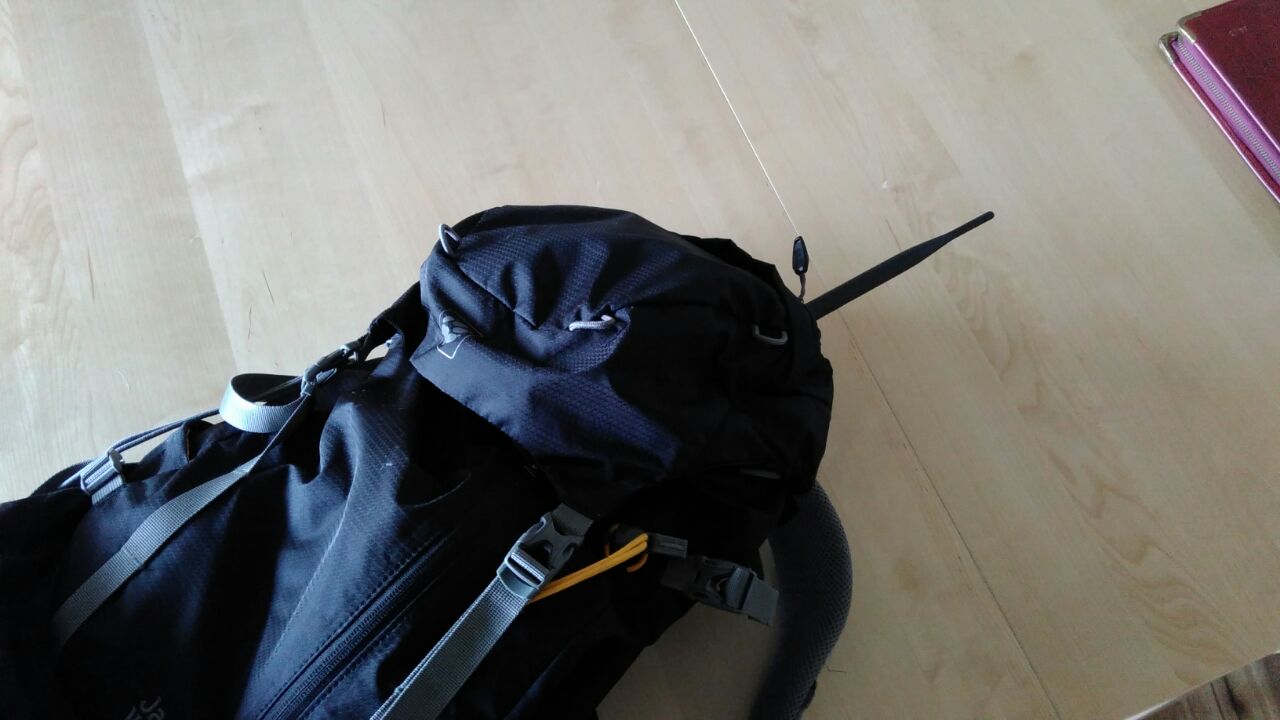
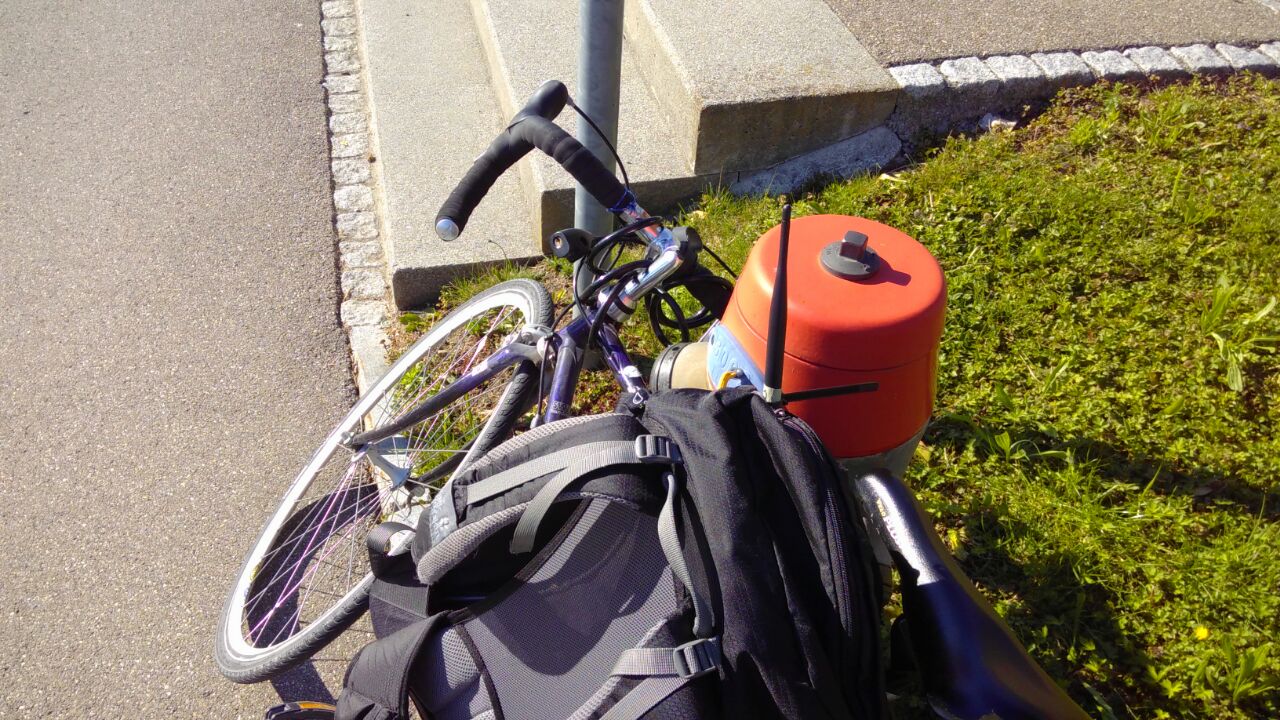
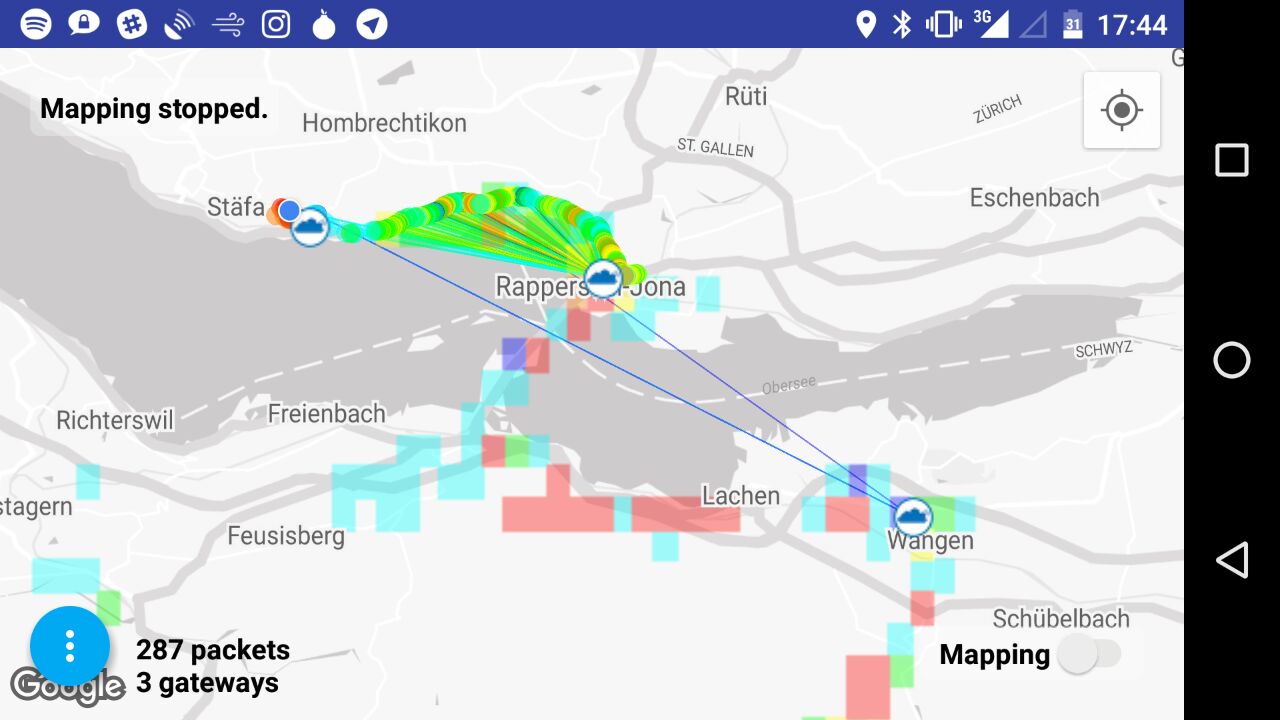
Now that we had the gateway at our final location, I wanted to know how good the coverage is. This time “LorWalking” was not enough, so I switched to “LorBiking” 😉
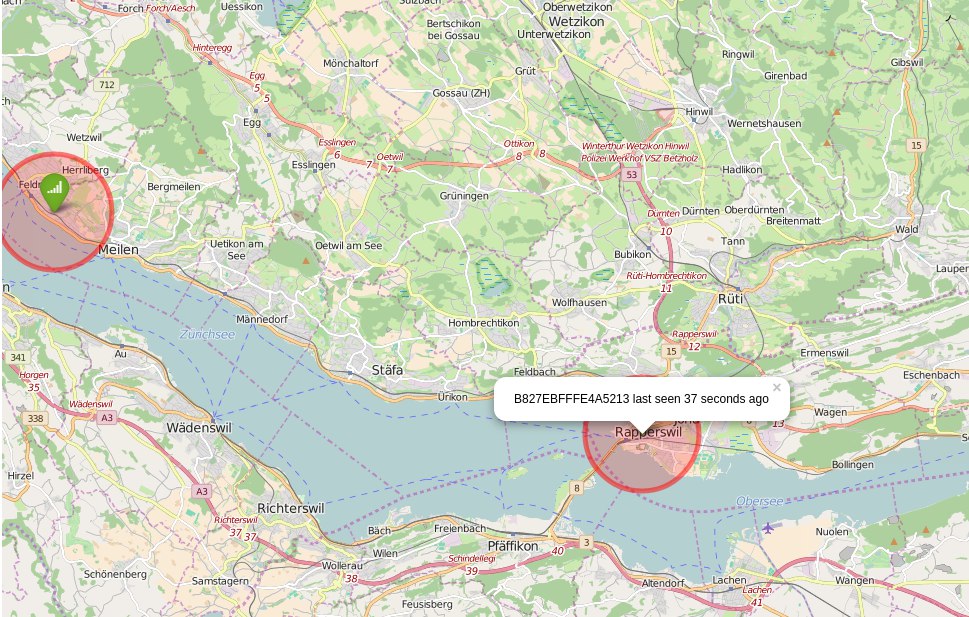
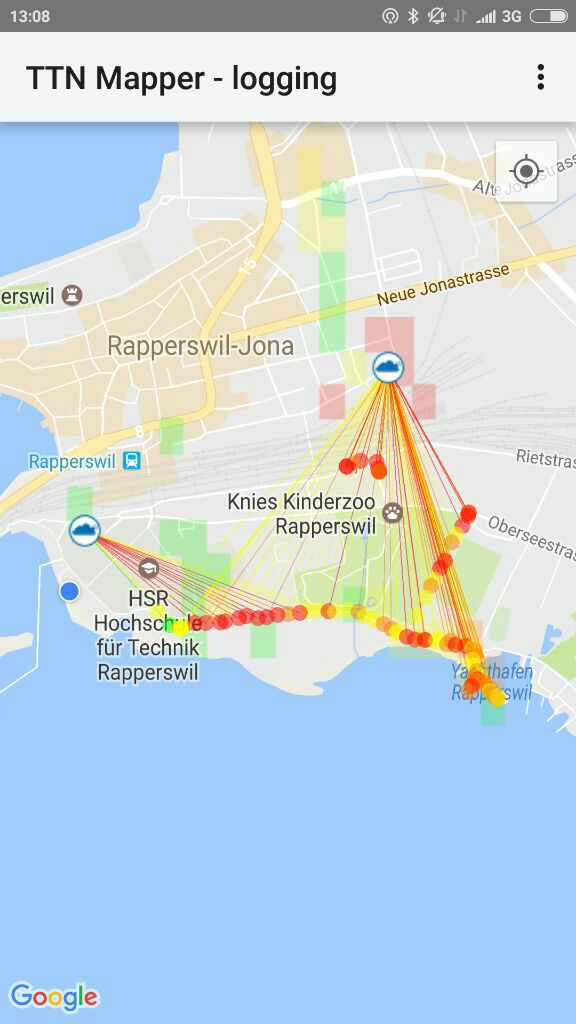
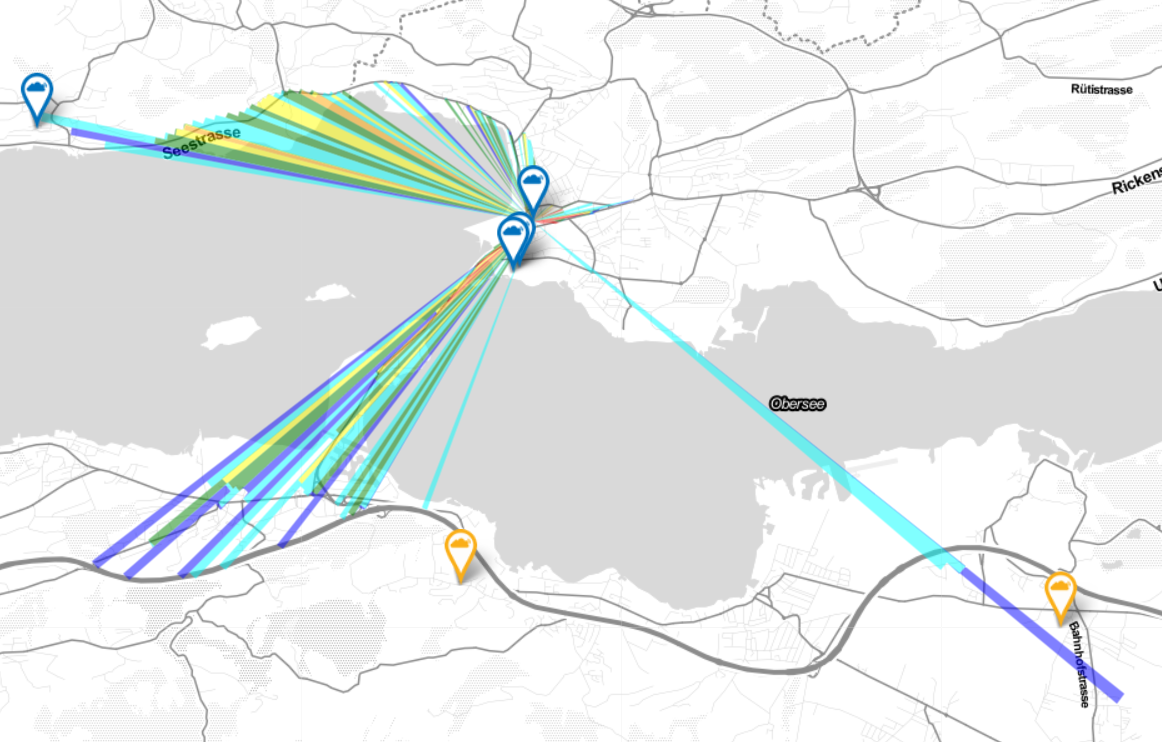
After this and a few other mapping sessions with a spreading factor (SF) of 7, the coverage map now looks like this:
I also got two reports from people testing with SF12 that reached the gateway from Girenbad (10km) and Bilten (14 km).
Monitoring
Now the final part: How do we monitor our gateway?
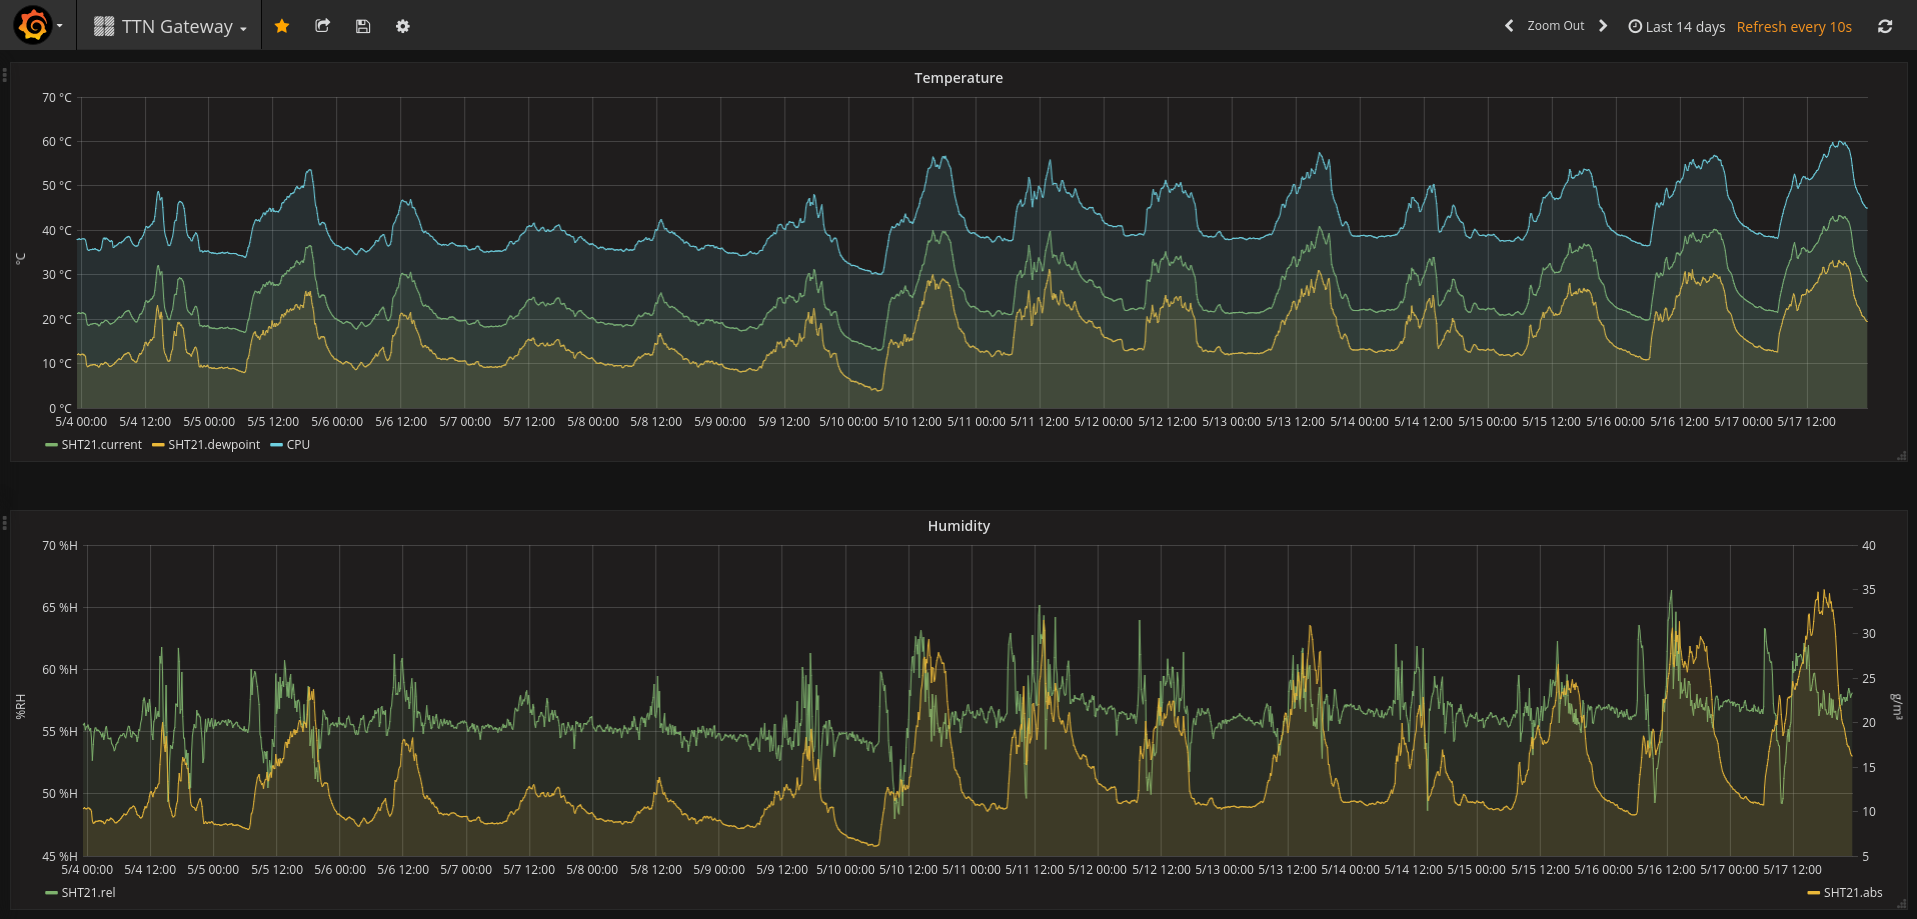
Since we have a SHT21 sensor on our backplane board, I wrote a collectd plugin that logs the Raspberry Pi CPU temperature and the SHT21 temperature and humidity. Additionally, it calculates the absolute humidity and the dewpoint. You can find the source code on Github.
The data is sent to an InfluxDB instance on our server and visualized with Grafana:
Since a few versions Grafana also supports alerting, so I quickly implemented support for Threema to get “high temperature” and “high humidity” alerts directly to my phone.
You can view the live dashboard on grafana.coredump.ch.
Conclusion
I learned a lot while doing all this stuff. Thanks to Urban and Raphi for helping me with my noob-questions regarding PCB design. Thanks to Gonzalo and the other TTN-ZH people for providing assistance with the gateway setup. Thanks to Pascal for providing the gateway location on the Prisma roof. Thanks Chrigi for obtaining the nice enclosure. And thanks Jessy for helping with the installation of the enclosure on the roof.
If you have any questions, you can ping dbrgn on the TTN-CH Slack channel, start a discussion in our Forum or simply comment below.
One Comment